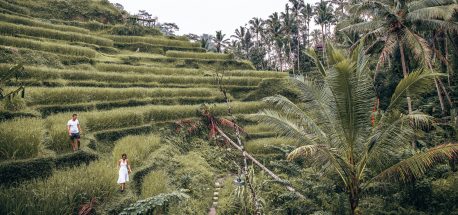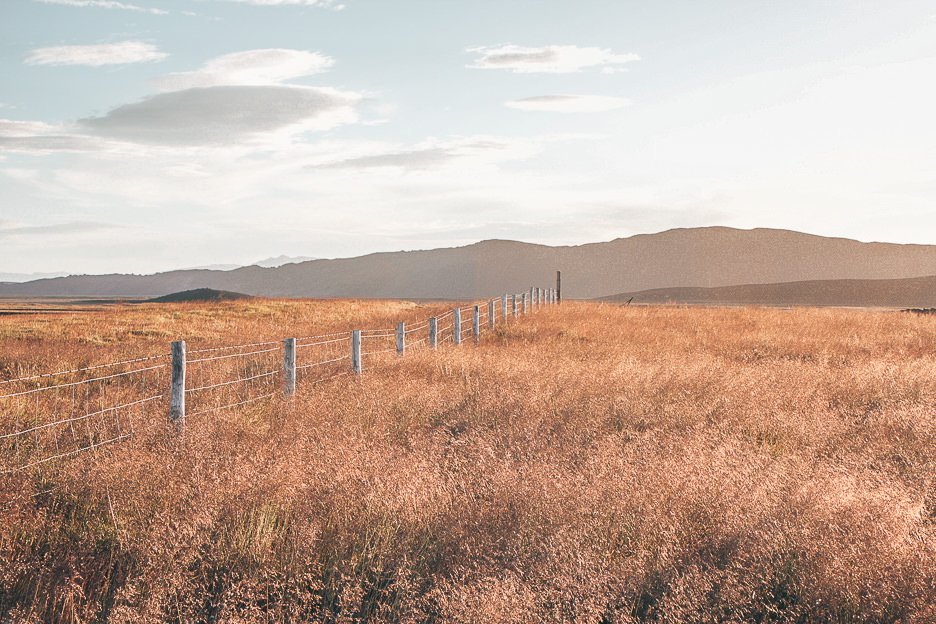
HOW TO TAKE PHOTOS AT SUNRISE OR SUNSET
What is the “Golden Hour”?
Golden Hour commonly refers to the hour after sunrise and the hour before sunset. Depending on your location in the world, the “hour” might be slightly shorter or longer.
Lighting 101
Here’s the science so you can impress someone at your next dinner party.
Warm vs Cold
We’re not talking about the temperature outside but about colour temperature. Colour temperature is measured by the Kelvin scale (K). Low colour temperature refers to warmer (more yellow/red) light while high colour temperature refers to colder (more blue) light. At 0 K, you’ll find yourself in complete darkness. On a bright sunny day, it will be closer to 12,000 K. The colour temperature during sunrise and sunset will be around 3,200 K. You won’t need to measure colour temperature, although you can purchase a light meter to assist with your camera settings. If you’re shooting RAW files, colour temperature information is available to you in Lightroom during post-processing (so not much help while you’re shooting but in case you are curious to know).
TIP: Keep in mind that clouds will affect colour temperature and therefore, will also affect the pictures you shoot.
Blue Light
Light or white light is made up of the three primary colours; red, green and blue. During golden hour, white light coming through the atmosphere scatters. The red and green light passes through the atmosphere but the blue light is removed. It’s like taking a rainbow and putting it through a colander but only the blue and violet colours remain behind. Without the blue light, the light “left behind” thus creates warmer tones and results in the golden effect.
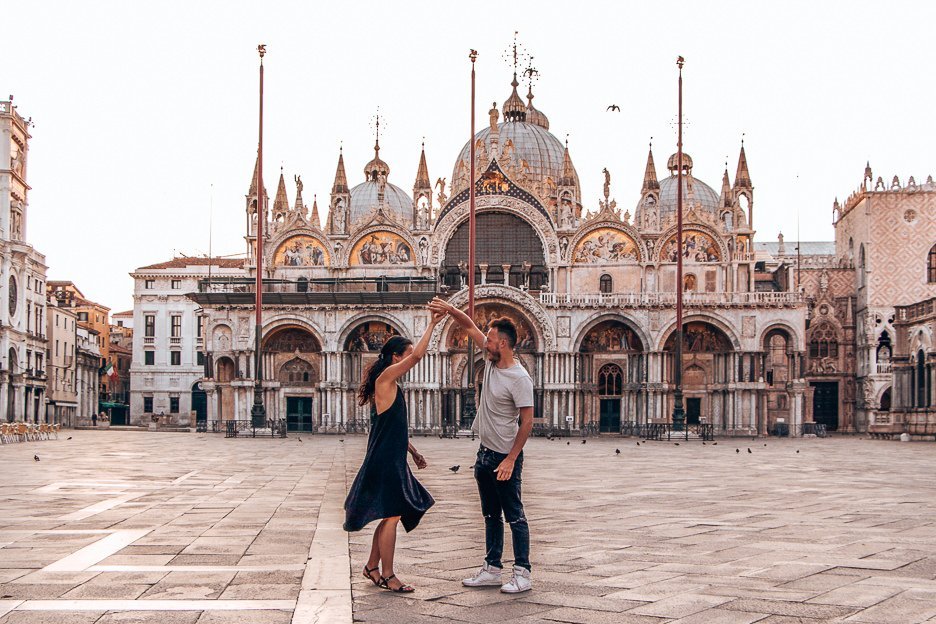
Why do photographers love shooting in “Golden Hour”?
The light is softer at this time of day and not as harsh as the sunlight around midday. The subjects appear more flattering as they will be softly lit up and their shadows extended.
TIP: A handy rule of thumb to calculate the most appropriate time to shoot during golden hour is to hold your hand up to the horizon and make a fist. With the bottom of your fist on the horizon, the top of your fist will form the line where golden hour begins. Once the sun enters this zone, start snapping.
How to Make The Most Of Golden Hour
These tips are aimed at beginner to intermediate level photographers. I use a Canon 6D and an iPhone but these principles can be applied across all types of cameras and phones.
Here are five tips to ensure you snap your best pictures during golden hour.
- Tip #1 - Research Sunrise & Sunset
Do your research and check the time of sunrise and sunset at your location. It would be prudent to also check the weather forecast as heavy cloud cover or rain will impede your ability to capture those golden tones.
When we conduct research for our trips, we use this website to check the time of sunrise and sunset. It helps us to plan for necessary travel time so that we are in the ideal spot for photographing during golden hour.
- Tip #2 - Set An Alarm For Sunrise
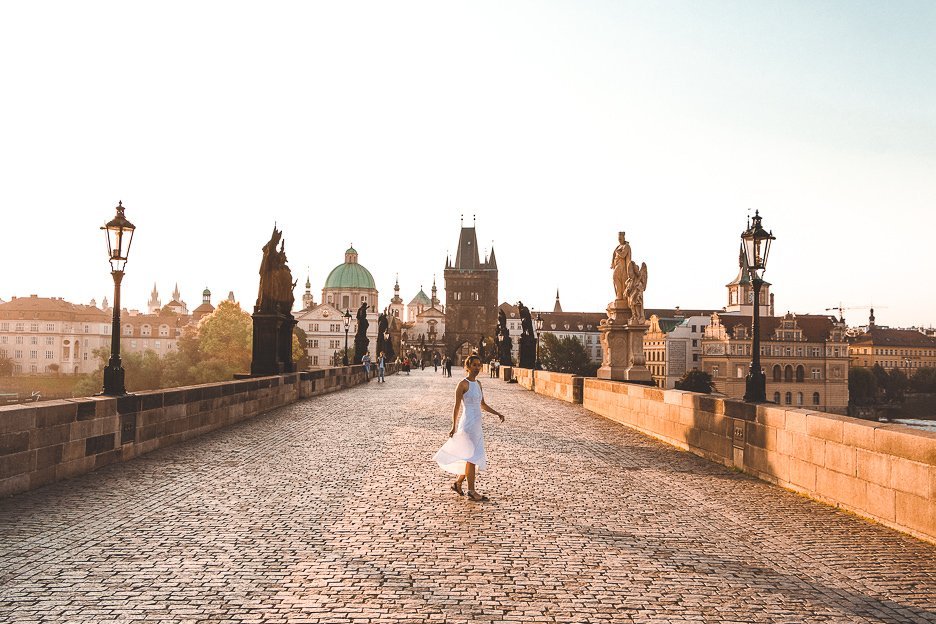
The early bird gets the worm but it will also get the photo for the ‘gram. If like me, you’re not much of a morning person but you plan to shoot at sunrise, set an alarm. A loud one. And then maybe a couple more. We know it’s difficult especially if you’re getting up in the dark. It could be cold outside and your bed is comfy and warm but trust me, the pictures and the experience will be worth it.
Lay out what you plan to wear and pack all your camera equipment the night before. That way, you avoid fumbling around your wardrobe and the frantic scramble for camera batteries and lenses in those wee hours. In addition, don’t forget to factor in travel time to your sunrise location for shooting. We have been well rewarded shooting in the morning. There are usually fewer people around which means you’ll often have epic landscapes or city squares all to yourself.
- Tip #3 - Get High
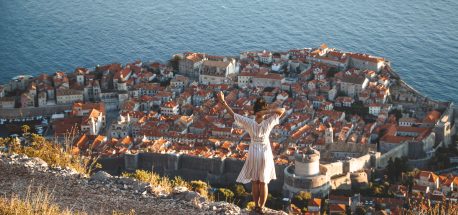
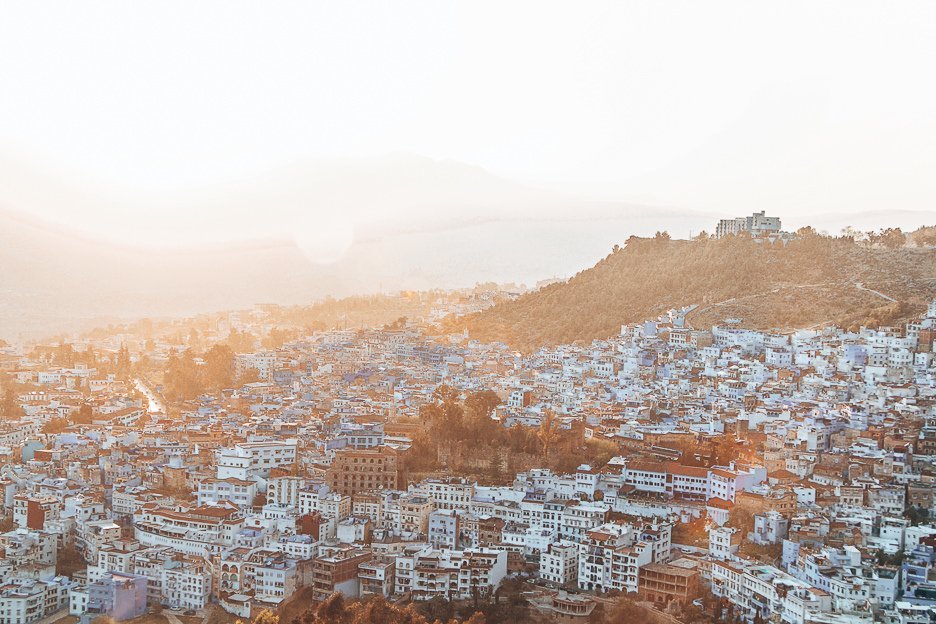
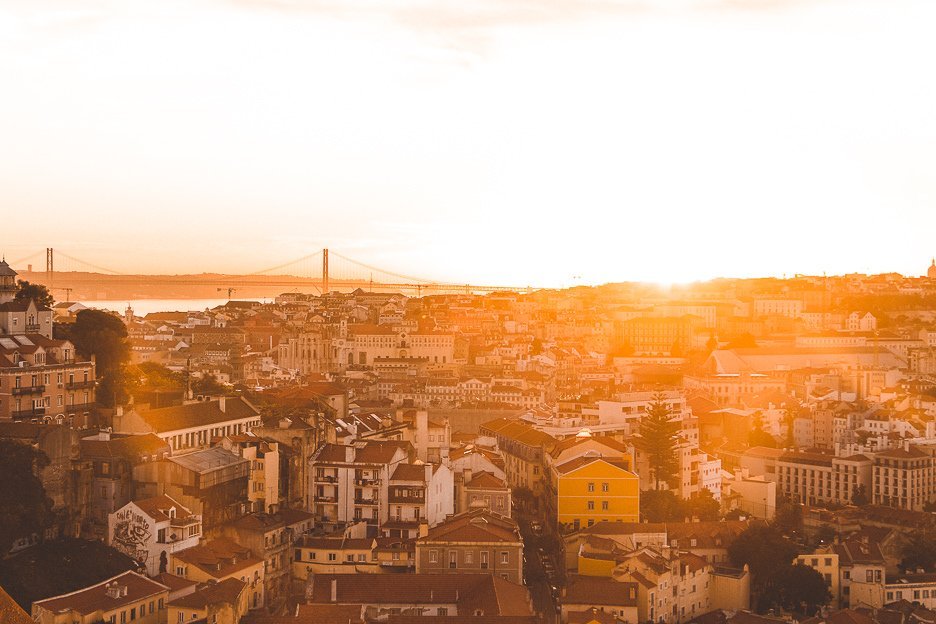
Capturing golden hour in cities can be difficult as buildings often obstruct the sunset frame you are trying to capture. If this is the case, get elevated. Try shooting from the summit of a mountain or a viewpoint from a rooftop or tower. It helps when cities have built the viewpoints for you, such as the miradouros in Lisbon or the belltower in Split. Don’t forget that you may be fighting crowds too, particularly at sunset. Plan where you want to take your photos and allow time for queueing if necessary.
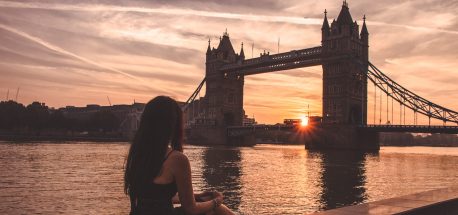
BONUS TIP: If you can’t get elevated, think of open spaces like rivers, city squares or parks.
- Tip #4 - Take The Camera Off Automatic
When your camera is set to automatic, it will overwrite some of your creative instincts. Do yourself a favour – turn off automatic mode and try some of these effects to enhance your images (on an iPhone, you can turn off automatic mode in apps such as VSCO).
White balance
Our eyes naturally process the light conditions of our environment. A camera cannot do this. On automatic mode, the camera will adjust the frame based on available light. In some instances, the frame appears brighter than what I would prefer and so I adjust the white balance. By manually adjusting the white balance settings, you can dictate (to an extent) the colour temperature of your photo. Our favourite settings on the Canon 77D is Shade (approx 7,000K) or Cloudy (approx 6,000K) which adds some golden highlights when we’re shooting during golden hour.
BONUS TIP: VSCO allows you to take images and control your white balance. The range is between 2,000 – 8,000 K but set this to around 6,000K for the Shade/Cloudy effect.
Set the ISO
In the old days, you (or traditionalists!) would buy film rolls with specific ISO settings. This meant you couldn’t change the settings for a whole roll of film! These days, ISO can be controlled via the image sensor within your DSLR. ISO controls the sensitivity to light that your camera processes when snapping a picture. ISO starts at 100 and increases exponentially. As the ISO number increases, so too does the ISO sensitivity of your camera. This means that when the ISO increases, your picture becomes more noisy or grainy.
For golden hour, we set the camera to ISO 200 or 400, when the sun is just appearing or disappearing. This setting allows for a sharp, high-quality image while still allowing freedom to adjust shutter speed and aperture.
BONUS TIP: The VSCO app has a handy automatic function. Click the ‘A’ and the app will automatically adjust the ISO number based on the lighting conditions.
Bracketing
For this technique, you will need a tripod and a post-processing software tool such as Lightroom. The bracketing technique is used when lighting is uneven (e.g. shadows) and is best done with the help of a tripod as a solid base. It involves taking multiple shots of the same frame (for my Canon 77D, it is three photos) at different exposures. The post-production process then will take the best elements of each of the photos to combine into one final photo.
The Photos app on iPhones does have the ability to apply the bracketing technique but for the best results, we suggest using your DSLR camera and reputable post-production software.
- Tip #5 - Put The Camera Down
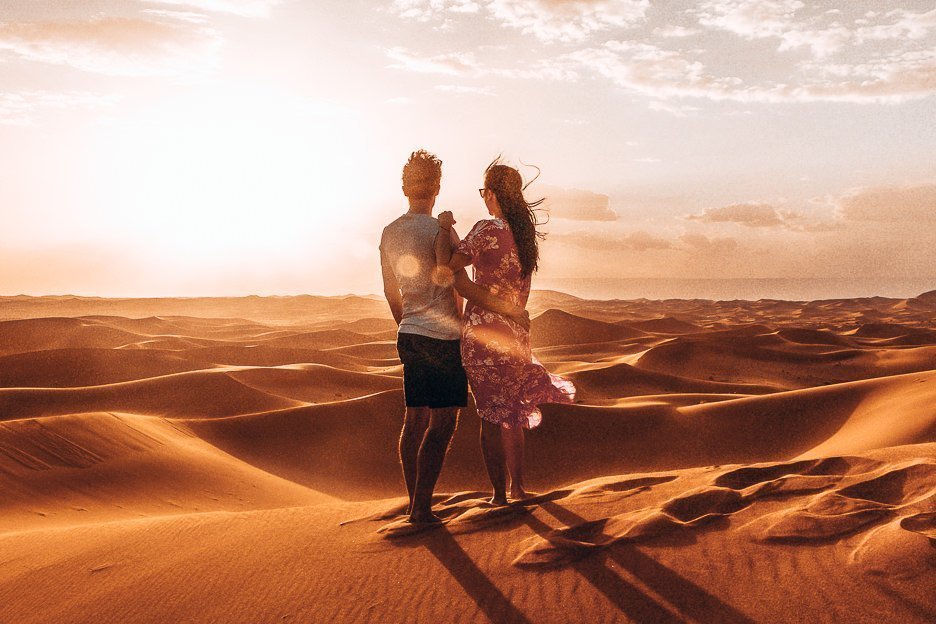
Once you’ve taken your umpteenth photo, put your camera down and take the time to enjoy the moment. This is also a really good opportunity to use a tripod, remote control and/or timer if you want to capture yourself in the frame.
Are you a budding or professional photographer willing to share your tips and tricks? Please share your knowledge with us in the comments below.
LIKE THIS POST? PIN IT AND SHARE IT!
