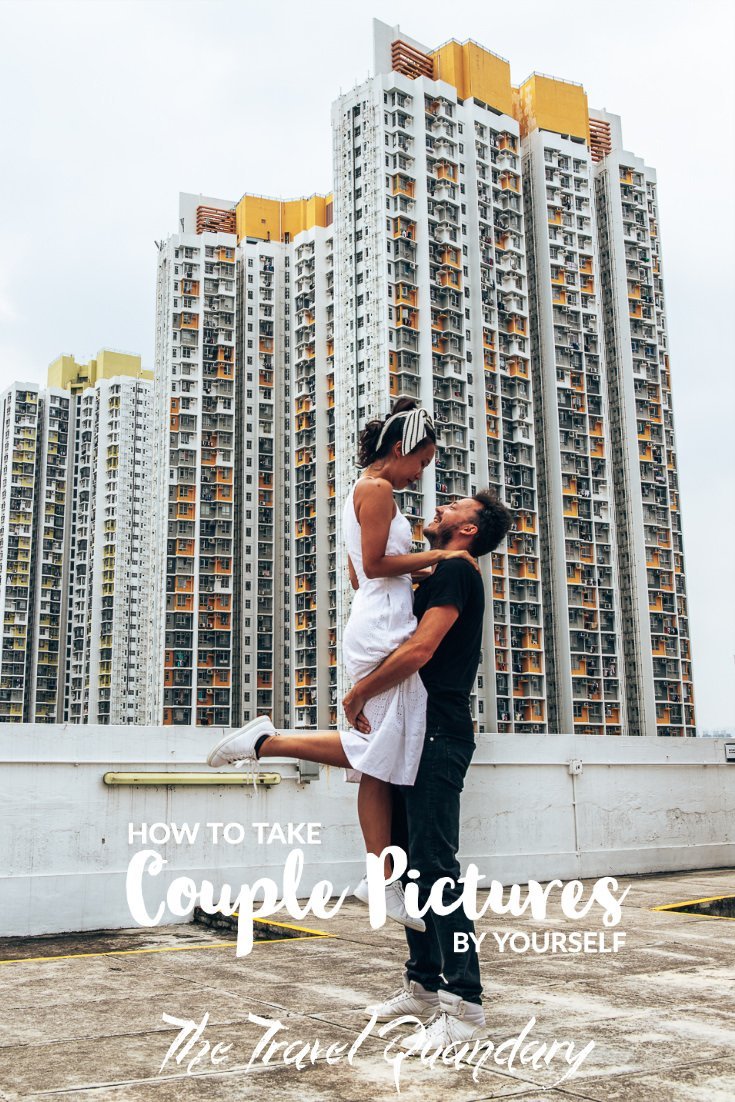
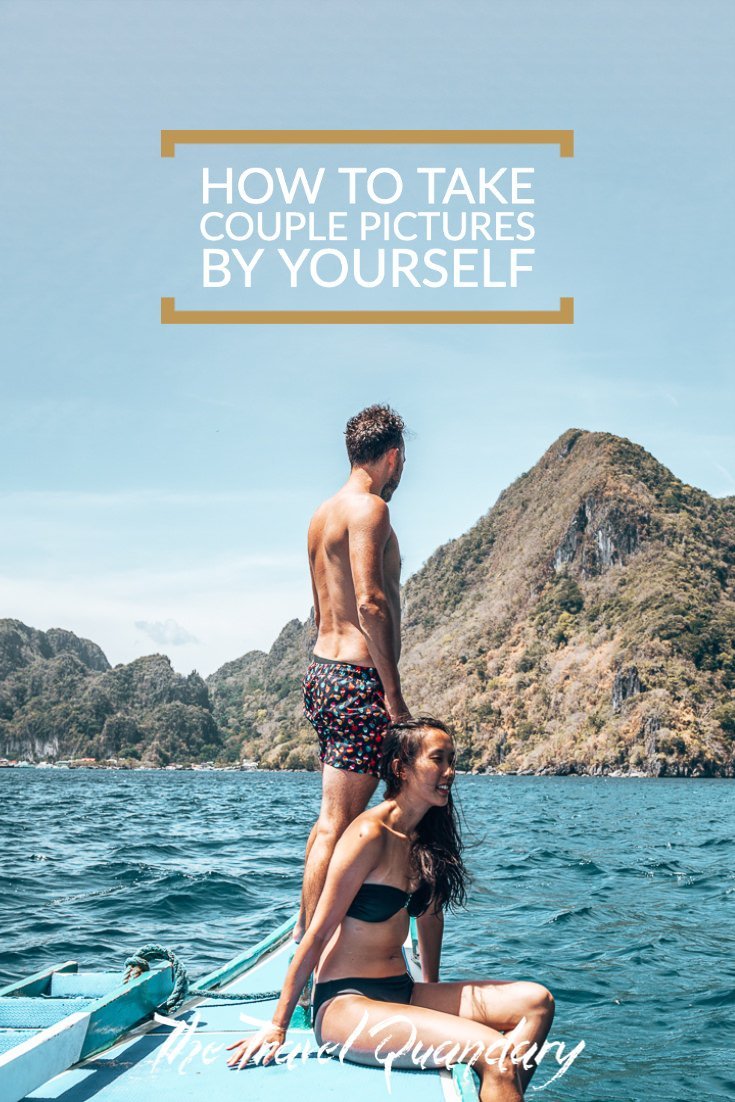
These days, every aspect of our lives is seemingly captured and shared online. There are arguments for and against taking as many photos as we do, particularly when on holiday. But we cannot bemoan the invention of the camera as it has provided so much happiness and pleasure the world over.
Taking your own couples pictures can largely depend on your environment and uncontrollable elements so it’s best to focus on what you can control. Over time, we’ve refined our own techniques and we want to share our couples photography tips on how to take couple pictures by yourself.
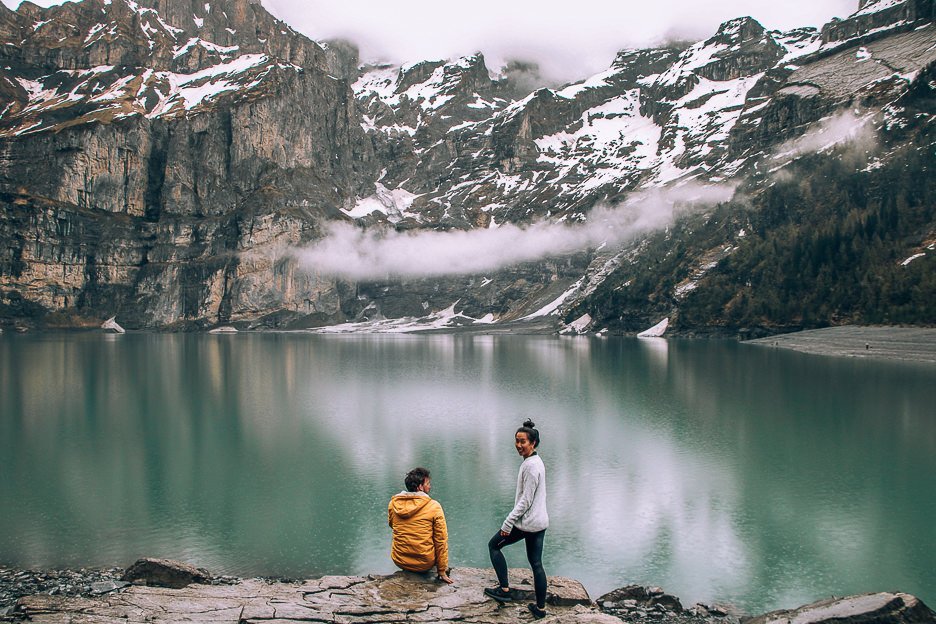
how to take good couple photos
FOUNDATION: HOW TO TAKE COUPLE PHOTOS WHILE TRAVELLING
A. Tripod & Timer
The tripod & timer is a classic technique which continues to stand the test of time (sorry! We couldn’t resist that pun). When people ask us “How do you take couple pictures alone?”, the answer is usually our tripod. If you’re serious about improving your couple photos, then adding a tripod to your photography kit is almost a necessity. We highly recommend investing in a sturdy tripod that can withstand some of nature’s elements (think wind or water) but can also hold the weight of your camera and lenses.
Once you have your three-legged friend, you have a few options:
- Set the timer on the camera to 10 seconds and run into position (always fun). You and your partner may need to take turns running back and forth to click the shoot button. Alternatively, take a burst of photos after 10 seconds which allows you to make multiple poses. We tend to use the latter when we are shooting our couple photos. We find that a little bit of movement looks more natural and the slight nuances in each frame provide more options when reviewing.
- Buy a remote control and click as you please. Many DSLRs now have in-built Wi-Fi capabilities allowing photographers to connect their smartphone or a remote to the camera. Using a remote control means you can take the photo, well remotely! We recommend using the timer mode which will allow you to subtly hide the remote control from view. By using the remote control you can also snap your picture from a few metres away with no running into position required!
- Use the interval timer mode to take a photo every second for a defined period of time (e.g. x1 photo every second for 60 seconds). We discovered this function recently and is now our preferred method over burst mode. Interval timer still allows you to move slightly and/or change poses between takes whilst also providing more shooting time (i.e. 30 seconds or 60 seconds rather than a burst of 10 photos after a 10 second countdown). When using the interval timer, it is important to stay in position if using auto focus points on your camera otherwise your pictures will return blurry. We recommend using a wide selection so that if you do move, you do not move out of focus.
B. Drone
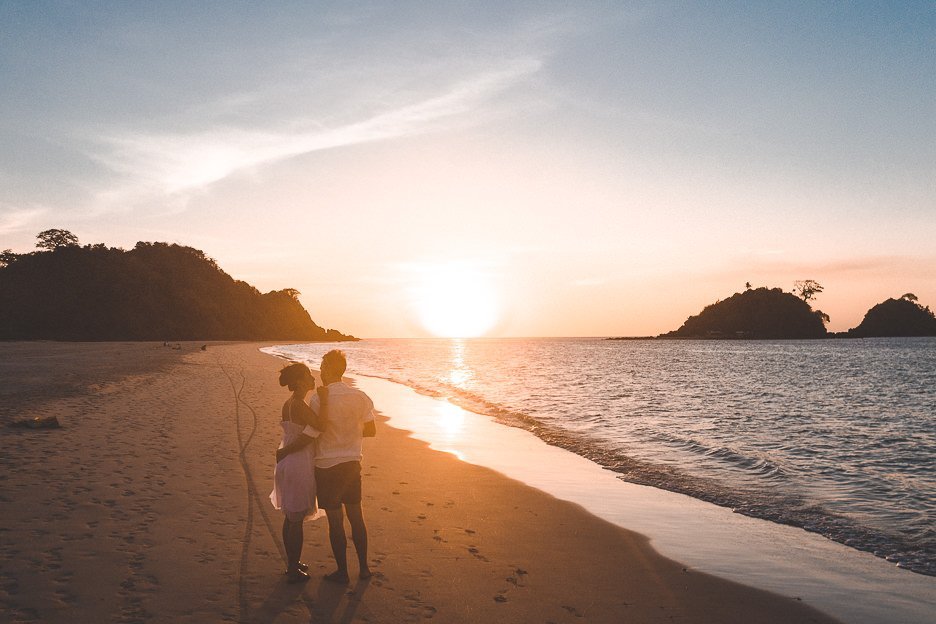
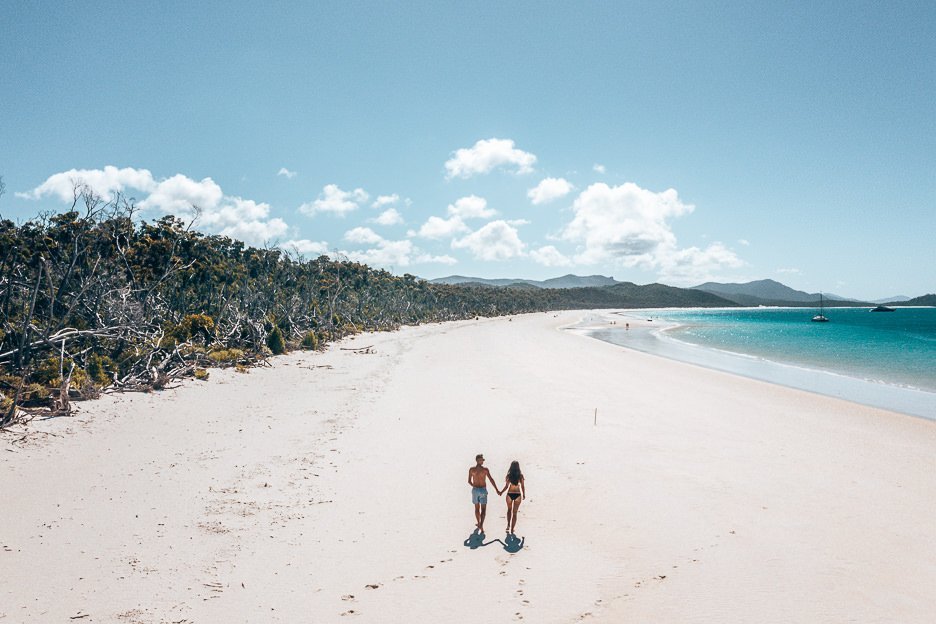
It’s taken some time for us (ahem, Bevan) to learn to master the basics of our DJI Mavic Pro 2 but over time, we have relied on our drone to take several of our travel couple photos, particularly the epic aerial shots.
Like a DSLR, we are able to set an interval timer on the DJI Mavic Pro 2 to snap a photo every 3 seconds while it hovers in one position. The distinct advantage of shooting with a drone is the ability to shoot some epic landscapes from a perspective that isn’t possible at ground level.
If you’re contemplating purchasing a drone, we list out the pros and cons in this blog post – A Photographer’s Kit: What’s In Our Camera Bag?
C. Selfie Stick // GoPro
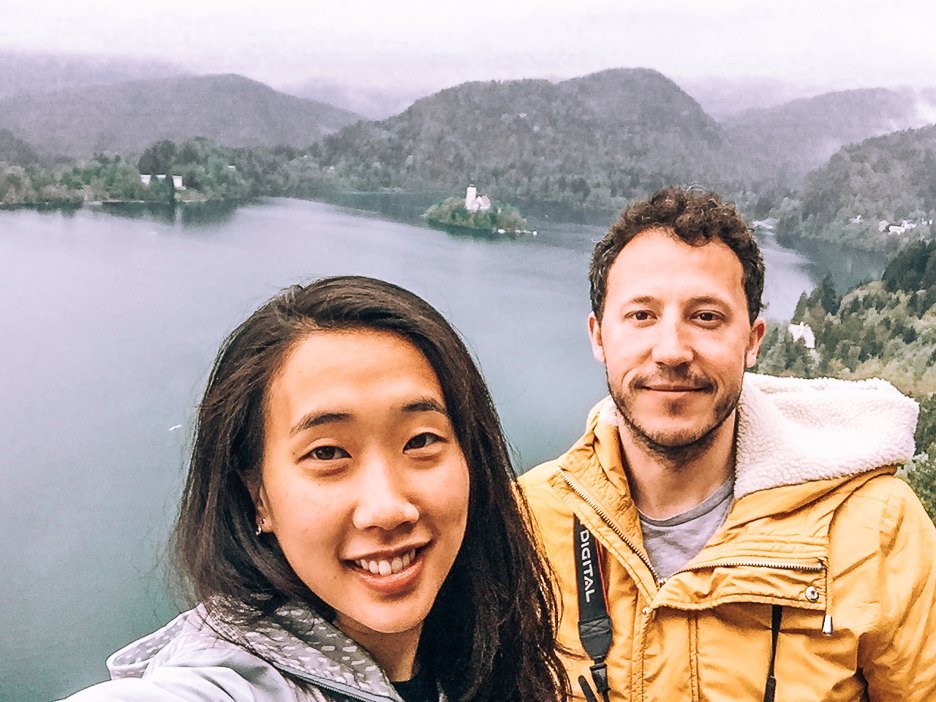
Jasmine was a huge fan of the selfie stick when we first met and used to bring it along on all of our trips. These days we use it less and less, however, it remains a simple, budget friendly option for travel couple shots if:
- You want a quick impromptu picture with your smartphone
- You want to include more of the background in your photo that a selfie with your arm can’t capture
- You want something that doesn’t cost a lot nor takes up much room in your weekend carry-on luggage
- You want to mix up the perspective by shooting low or high
D. Ask a stranger or a friend
This is the method we rely on the least as we prefer to frame our own photos using our tripod. If you are travelling with friends, then you’re lucky if you can set up the frame and camera settings and simply ask them to click the button (in exchange for a few beers of course). However, taking your own couples pictures is not always possible. Should you find yourself in a spot where tripods, drones or selfie sticks are not permitted, then you’re going to need some human help.
These are our top tips when asking for assistance:
Quid pro quo – offer to take one of them in exchange for a photo of the two of you. Most people generally accept this offer as we all want a nice holiday memory of us standing in front of that memorable backdrop.
Provide guidance – snap a test shot of the frame that you’re envisioning and show your new friend a preview of this shot on your DSLR. Make sure to also ask them to stand in a certain place if it means nailing the shot. In our experience, it is rare to come across a fellow traveller who is comfortable holding and shooting with a DSLR so providing an example of what you’re after with clear instructions could improve your success rate!
Review & request – make sure to review the photo and assess the result. If you’re not happy, don’t be afraid to politely ask the hired photographer to shoot the photo again whilst adding further instructions.
Don’t forget to consider your camera settings. Depending on crowds, light, weather etc, you may simply need to flick the camera to “automatic” and ask your new friend to point and shoot. If you can switch to manual mode to adjust your camera settings according to your environment, your human help still just needs to point and shoot, but you are likely to have less work to do during post production.
COUPLES PHOTOGRAPHY TIPS
A. Framing
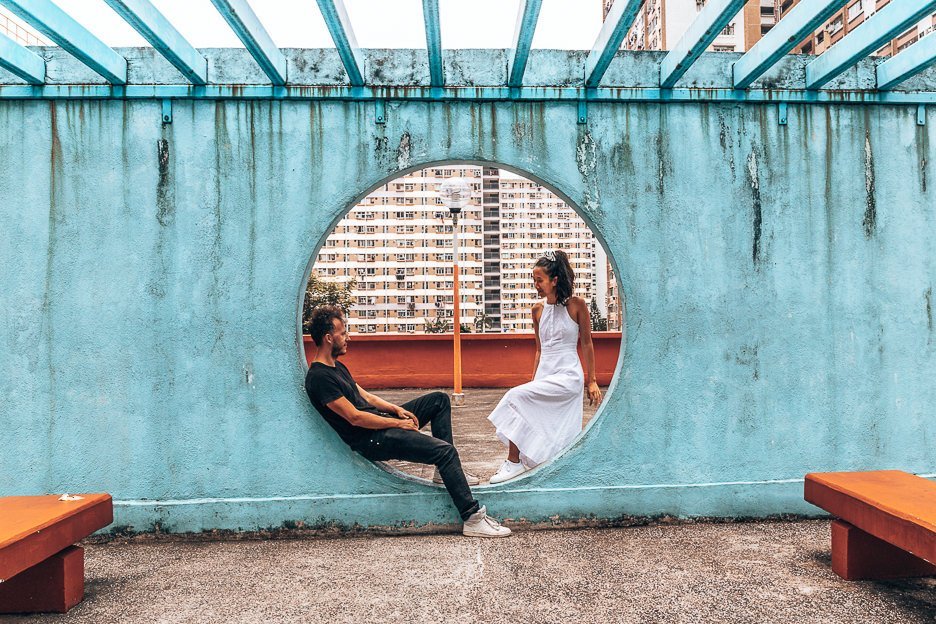
Consider a unique angle or authentic frame. You may run into unplanned difficulties such as physical obstacles (e.g. fences, crowds) preventing you from setting up your tripod, having an inappropriate lens or bad weather forcing you to set-up and shoot quickly.
The structure of your photo is important; setting up a frame can take time and will require some patience. Change things up, vary your height or angles and don’t be scared to try something new – even if it doesn’t always work.
B. Poses
Many people feel awkward in front of the camera so learning to feel comfortable while posing and having your picture taken will take practice. Here are our tips for how to pose as a couple for pictures:
Be natural – Remember to relax. It sounds so cliche but it’s best to not overthink your pose and act natural. We try to incorporate some movement and imagine that there isn’t even a camera there in the first place.
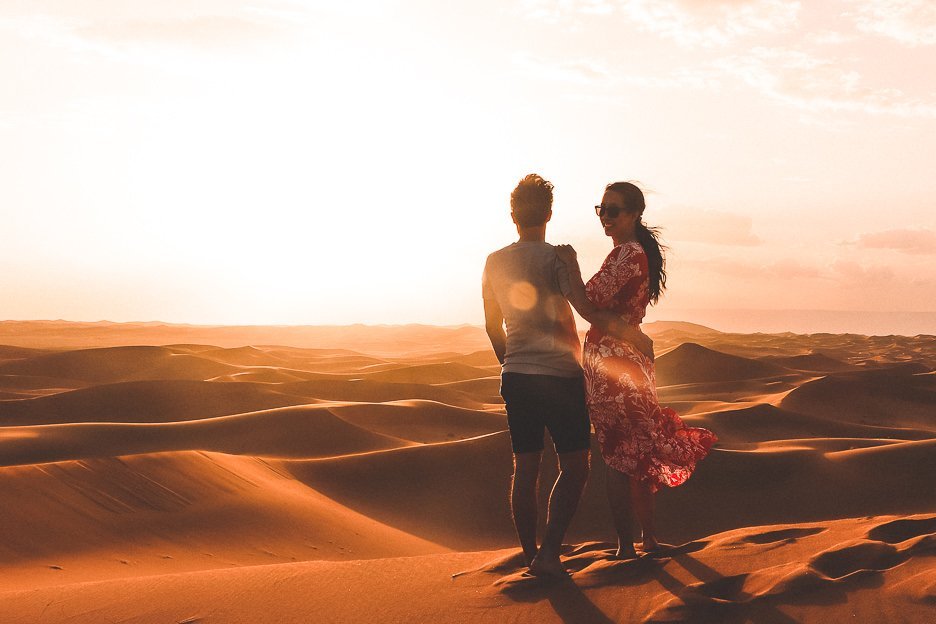
Change things up – Add some variety and mix things up. Sit side by side, share a kiss, walk hand in hand, wrap your arms around each other. Look at the camera front on, show your side profile or turn your back completely. Dance together, lean on one another, incorporate your environment or some props. Have some fun!
Create a guide or lookbook – Create a collection of images of travel couple poses that you admire. Whether it is a collection of saved images on Instagram, a Pinterest board or a magazine, file these images under “pictures to take with your boyfriend”. We encourage you to add your unique twist and not to simply replicate or copy somebody else’s work!
C. Lighting
Light is a photographer’s best friend and worst enemy. Natural light, artificial light, low light – it will make or break your photo! An ideal time to shoot is during golden hour, usually about an hour after sunrise and the hour before sunset. This time of day often returns warmer light, softer shadows and highlights that are not overexposed. Of course, there are other obstacles you may not be able to avoid such as clouds and buildings so these elements add to the challenge!
To learn more about taking photos during golden hour, read our tips here – What is Golden Hour & How To Make The Most Of It.
D. Composition
What you see through your viewfinder is what you get. When taking a photo the aim should be to only include the good stuff. If shooting a cityscape, eliminate objects like trash or poles (where you can) if they do not add context to your photo. Similarly with landscapes, think about your focal length, as elements can be easily included or excluded by zooming in or out.
Depth of field – The ability to control depth of field in your photograph means that you can draw your viewer’s attention to a particular point of interest, namely the two of you.
Controlling aperture means that you can change the focal point of your picture. A wide aperture or low f-stops (up to around f4) will result in your subject in sharp focus and blurry surrounds. We tend to shoot with a low aperture when taking portraits. The person tends to be the focal point in the foreground and we blur the background.
In contrast, the opposite emphasis can be achieved when shooting photos at a narrow aperture or high f-stops (from around f13 and above). Higher f-stops remove any blurred effects so your focal point and surroundings all tend to be in focus. We tend to use this setting when we want to capture ourselves amongst landscapes and cityscapes.
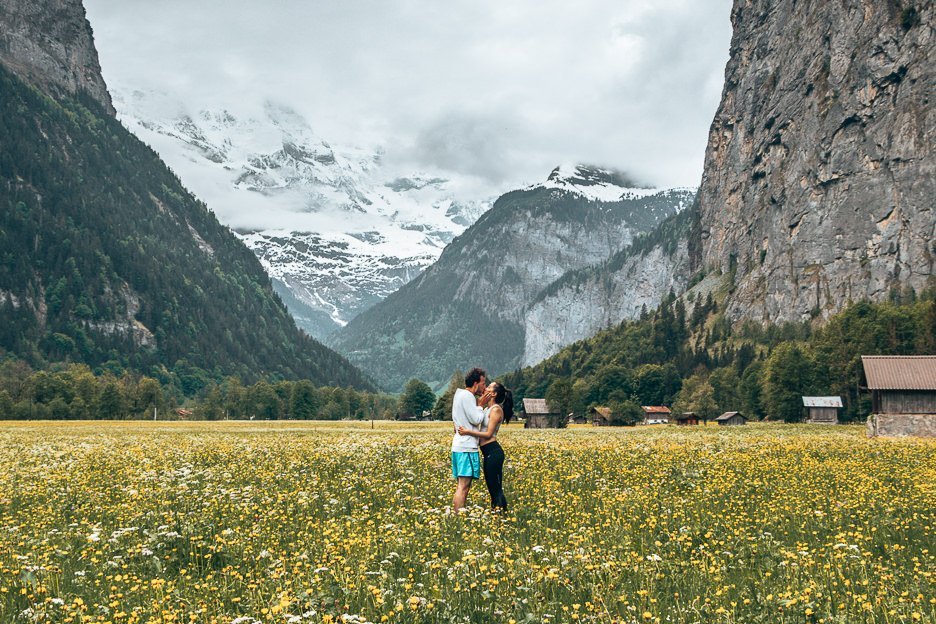
Rule of thirds – One of the most classic laws of composition is the rule of thirds. Imagine your frame is divided into a 3 x 3 grid. It is encouraged to place your focal point approximately on one of the intersections of horizontal and vertical lines that divides your frame into thirds to keep your composition uncluttered.
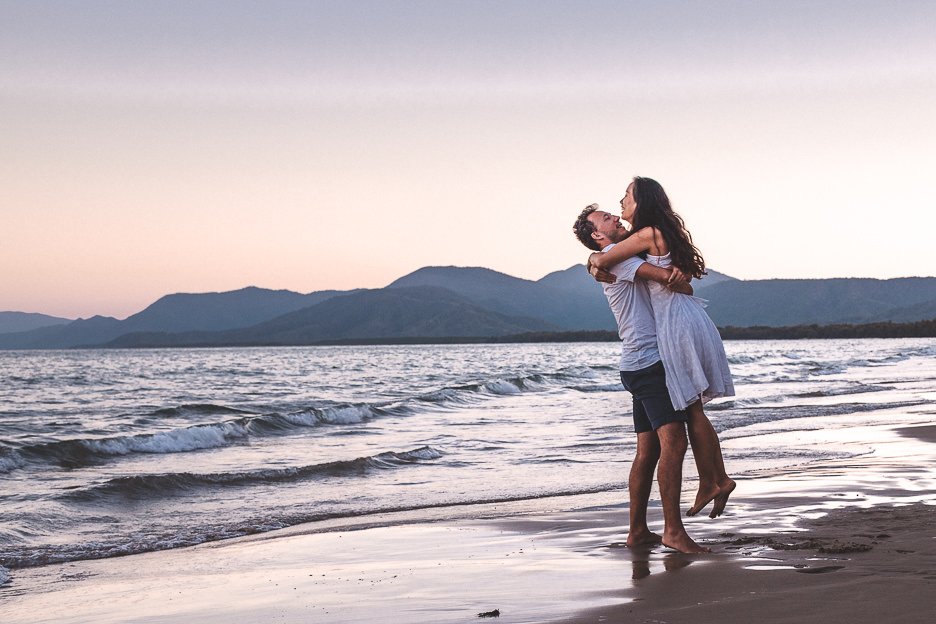
For example – if you are shooting sunset at the beach, you might use the horizon to form one of your horizontal grid lines and place yourselves on one of the vertical grid lines. If you choose not to shoot the frame following the rule of thirds, you can always crop the image in post-production to reposition yourself adopting the rule of thirds.
Our travel couple photography style tends to “break” the rule of thirds and we usually place ourselves (i.e. the focal point) in the centre of the frame. There is no hard and fast rule and you are likely to develop your own style.
TIP: Generally speaking, all cameras will have a grid function built in which you can use when setting up your frame. The gridlines can help you to identify where to place your subject when shooting.

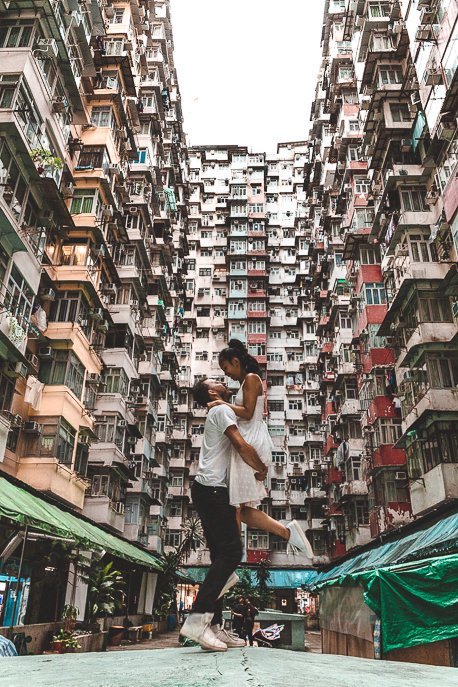
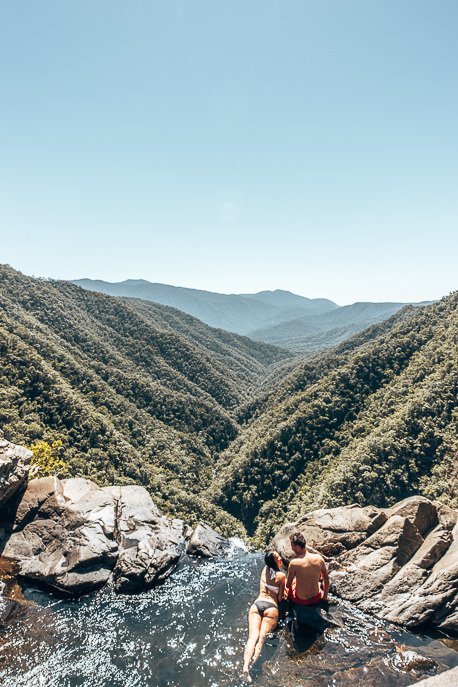
Change the viewpoint – If you’re looking to create a unique photo, one of the easiest things to do is to simply change your viewpoint. Drones have redefined aerial photography of majestic landscapes, allowing viewers to see scenes never shown or accessed before. But you don’t need a drone to drastically change the perspective. Using your tripod is a good place to start mixing up your couple photos. You can lower your tripod and point your camera upwards to shoot a frame from below or you can place your tripod above you to shoot downwards.
E. Timing & Review
As best as possible – never rush your photos. Take your time. If the photo location requires you to queue, consider returning at a different time of day or shooting the backdrop from an alternative angle.
Fix your camera settings. Take 5 photos and then review the results. Ask yourself some of the following questions:
- Are you happy with the frame?
- Do you like your pose?
- Did one of you have their eyes closed?
- Is the shot overexposed?
- Did any sudden movement appear blurry in the photo?
Sometimes it’s not always easy to pick up slight nuances in the preview mode of your camera and imperfections may only become obvious during post-production. You don’t need to delete images from your camera straight away – you may want to wait until you have reviewed them on your desktop or laptop before deleting. You also don’t want to spend too much time trying to curate the “perfect” shot as this takes away from the two of you enjoying your travels together. Take a little time to review your photos before moving on as it is much easier to take another photo there and then if you’re happy with light and environment conditions.
F. Create Content
Be authentic, be unique, be you and practice, practice, practice. Create something that you’re proud of and is a reflection of you instead of replicating something that has been done a thousand times before. The one thing that you have that nobody else does is your love for each other so work together to capture those special couple photos that you’ll be able to cherish forever.
For more travel couple inspiration and couple pictures ideas, visit our Instagram account @thetravelquandary.
Got any other tips on how couples should take photos? Let us know in the comments below!
LIKE THIS POST? PIN IT AND SHARE IT!
